Compost & Worm Farming
Cold, hot, towers, worm farms - This is the best place to start when looking at strategies that are good for you and the planet (see pictures below).
The benefits of compost and vermicast to the soil are outstanding; better health for plants, nutrient-dense soil, greater carbon drawdown capacity for soil, food for the soil microbiome and the plants, better soil structure, and better water holding capacity. The list goes on. Oh, and when you make it yourself, it’s not packaged in thick non-recyclable plastic that has been sitting around your local garden centre for 6 months or so.
For a more detailed explanation of the benefits read; https://integritysoils.co.nz/the-benefits-of-worms-and-vermicast/
If you’re not really sure where to start, go to our Blog for our brief compost how-to, however, if you’d like a more hands-on approach we’re here to help. We can go through all the options and help you decide which composting method/s are best for you (including worm farming), we will go through the compost bin options, including custom-made bins, site location, and how to manage. On-going support can be provided if required.
It is such a great way to reduce waste sent to landfill immediately. Roughly 30% of our home waste is food waste!
This will also reduce your methane emissions by keeping organic waste out of an anaerobic landfill (decomposition without air). https://www.agric.wa.gov.au/climate-change/composting-avoid-methane-production-%E2%80%93-western-australia
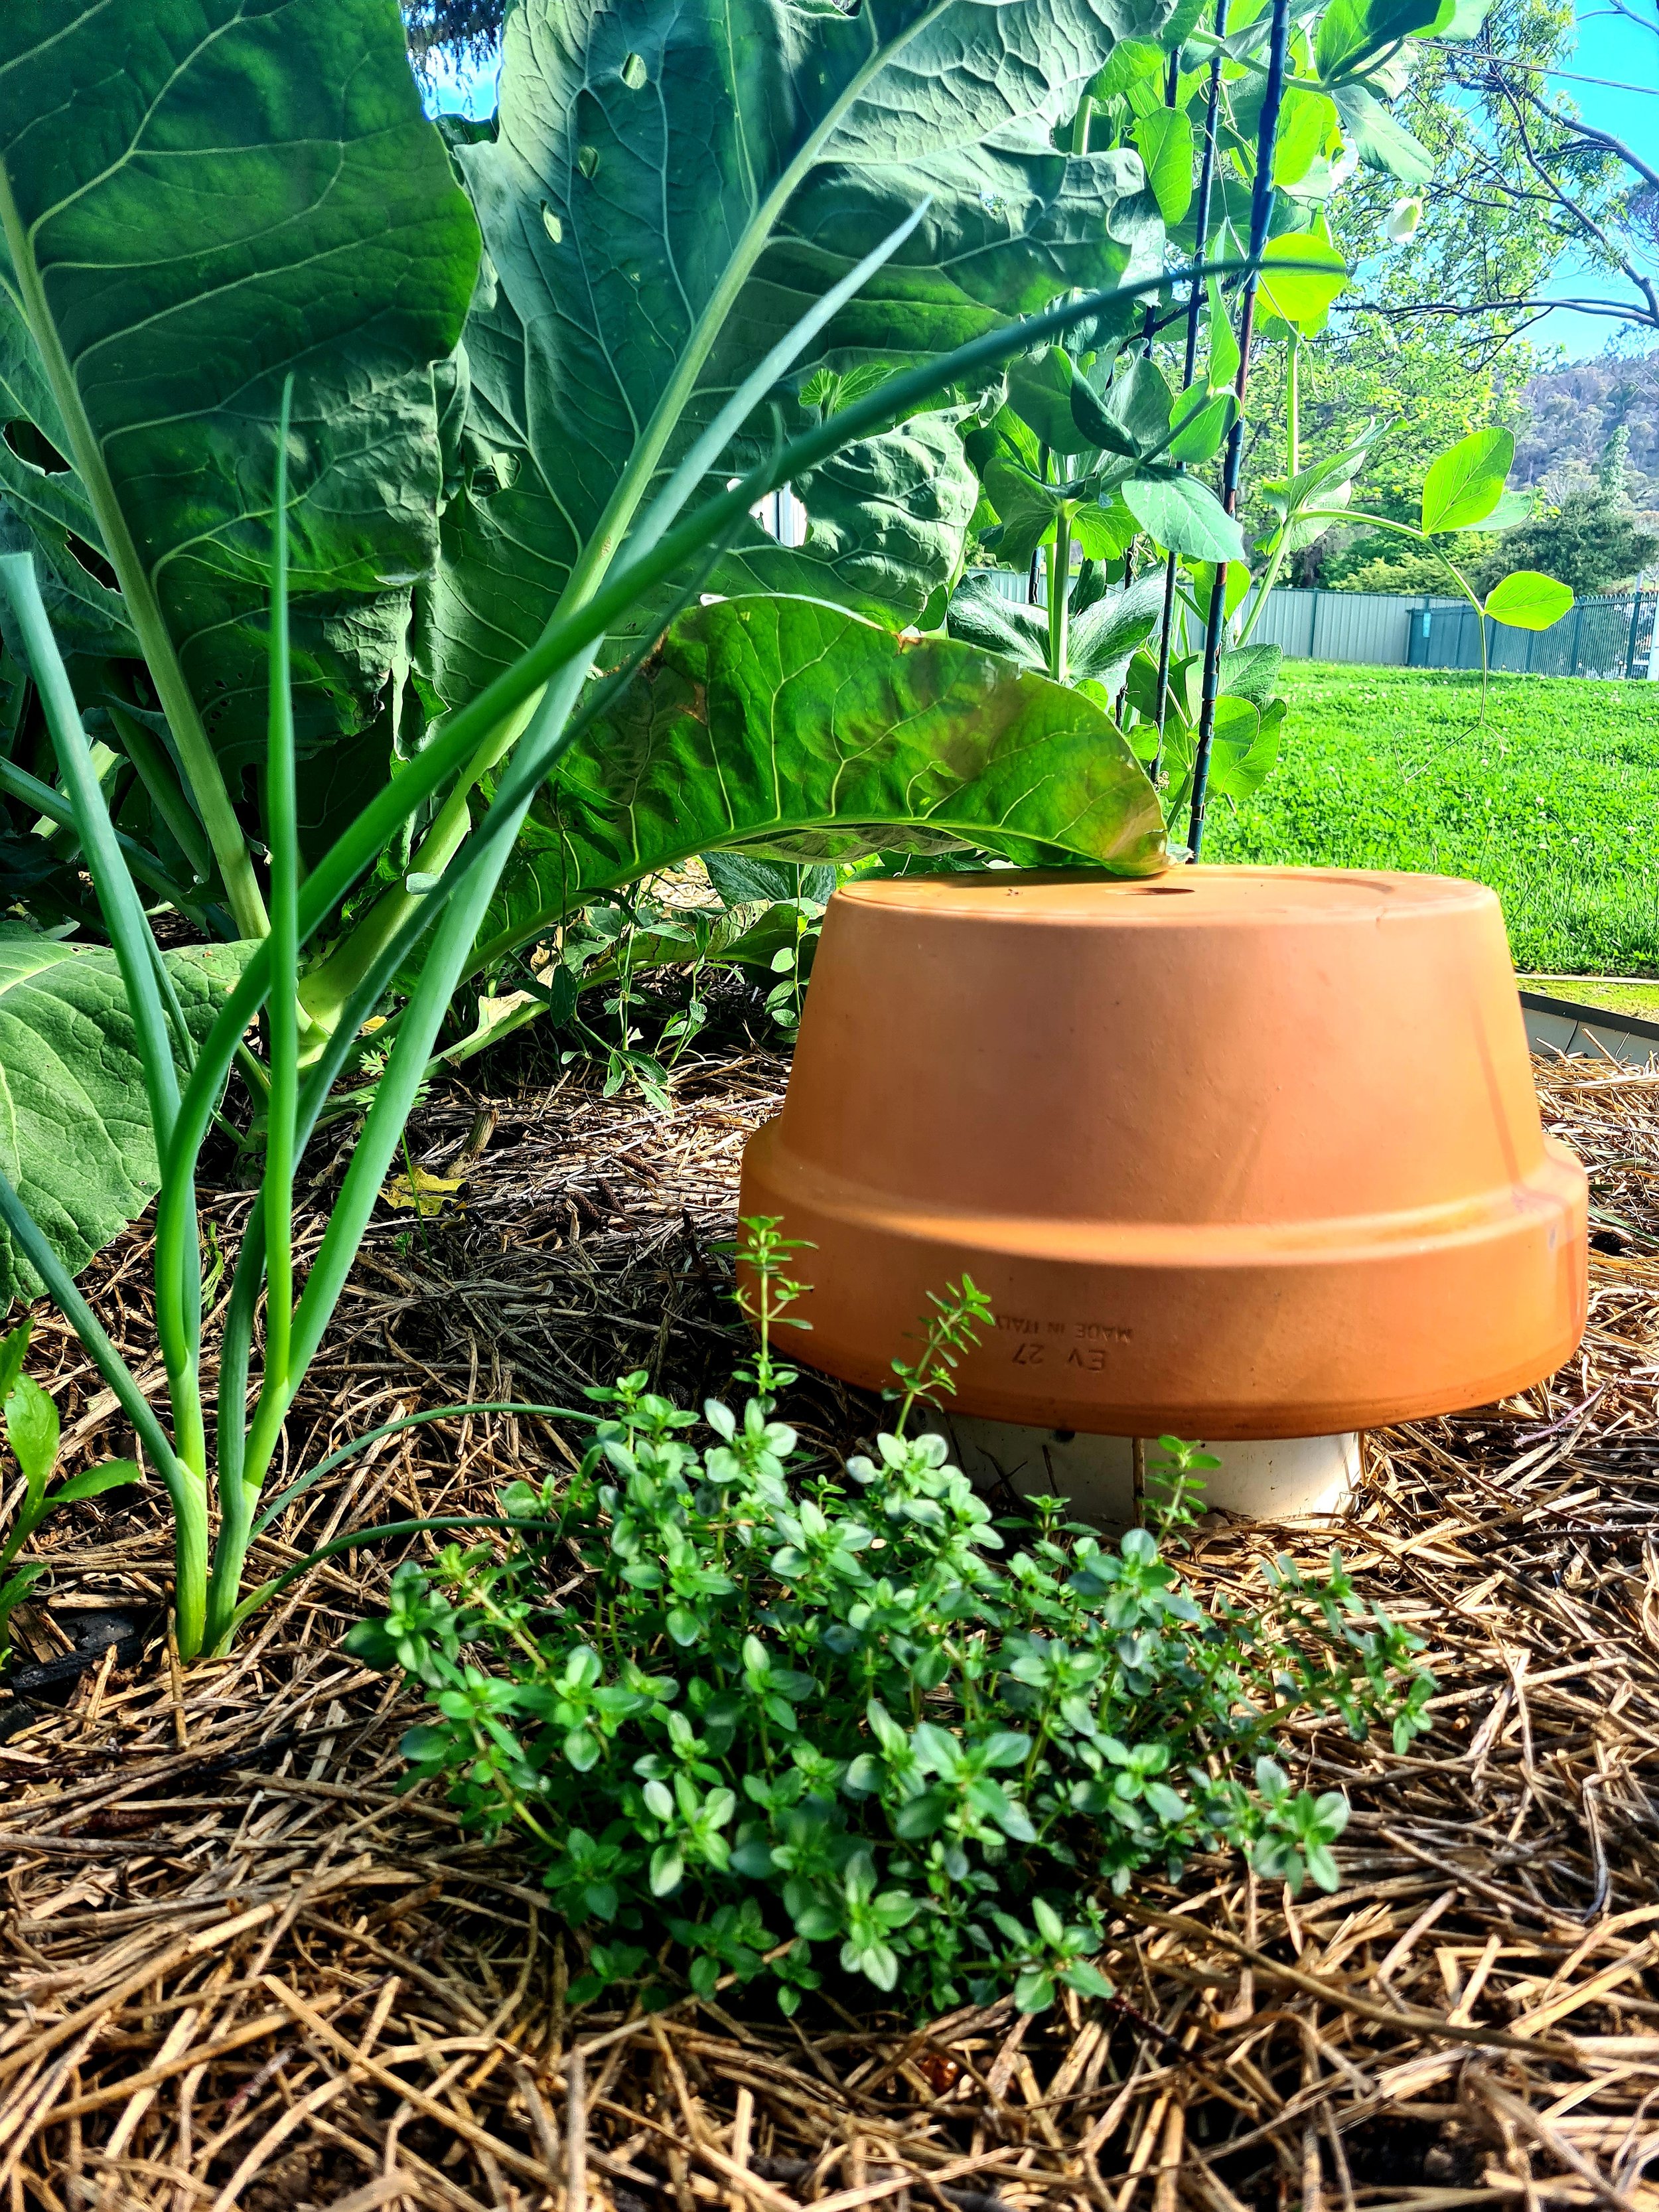
Let us show you how to create worm towers in your garden.

Worms in the tub are loving life and breeding rapidly.
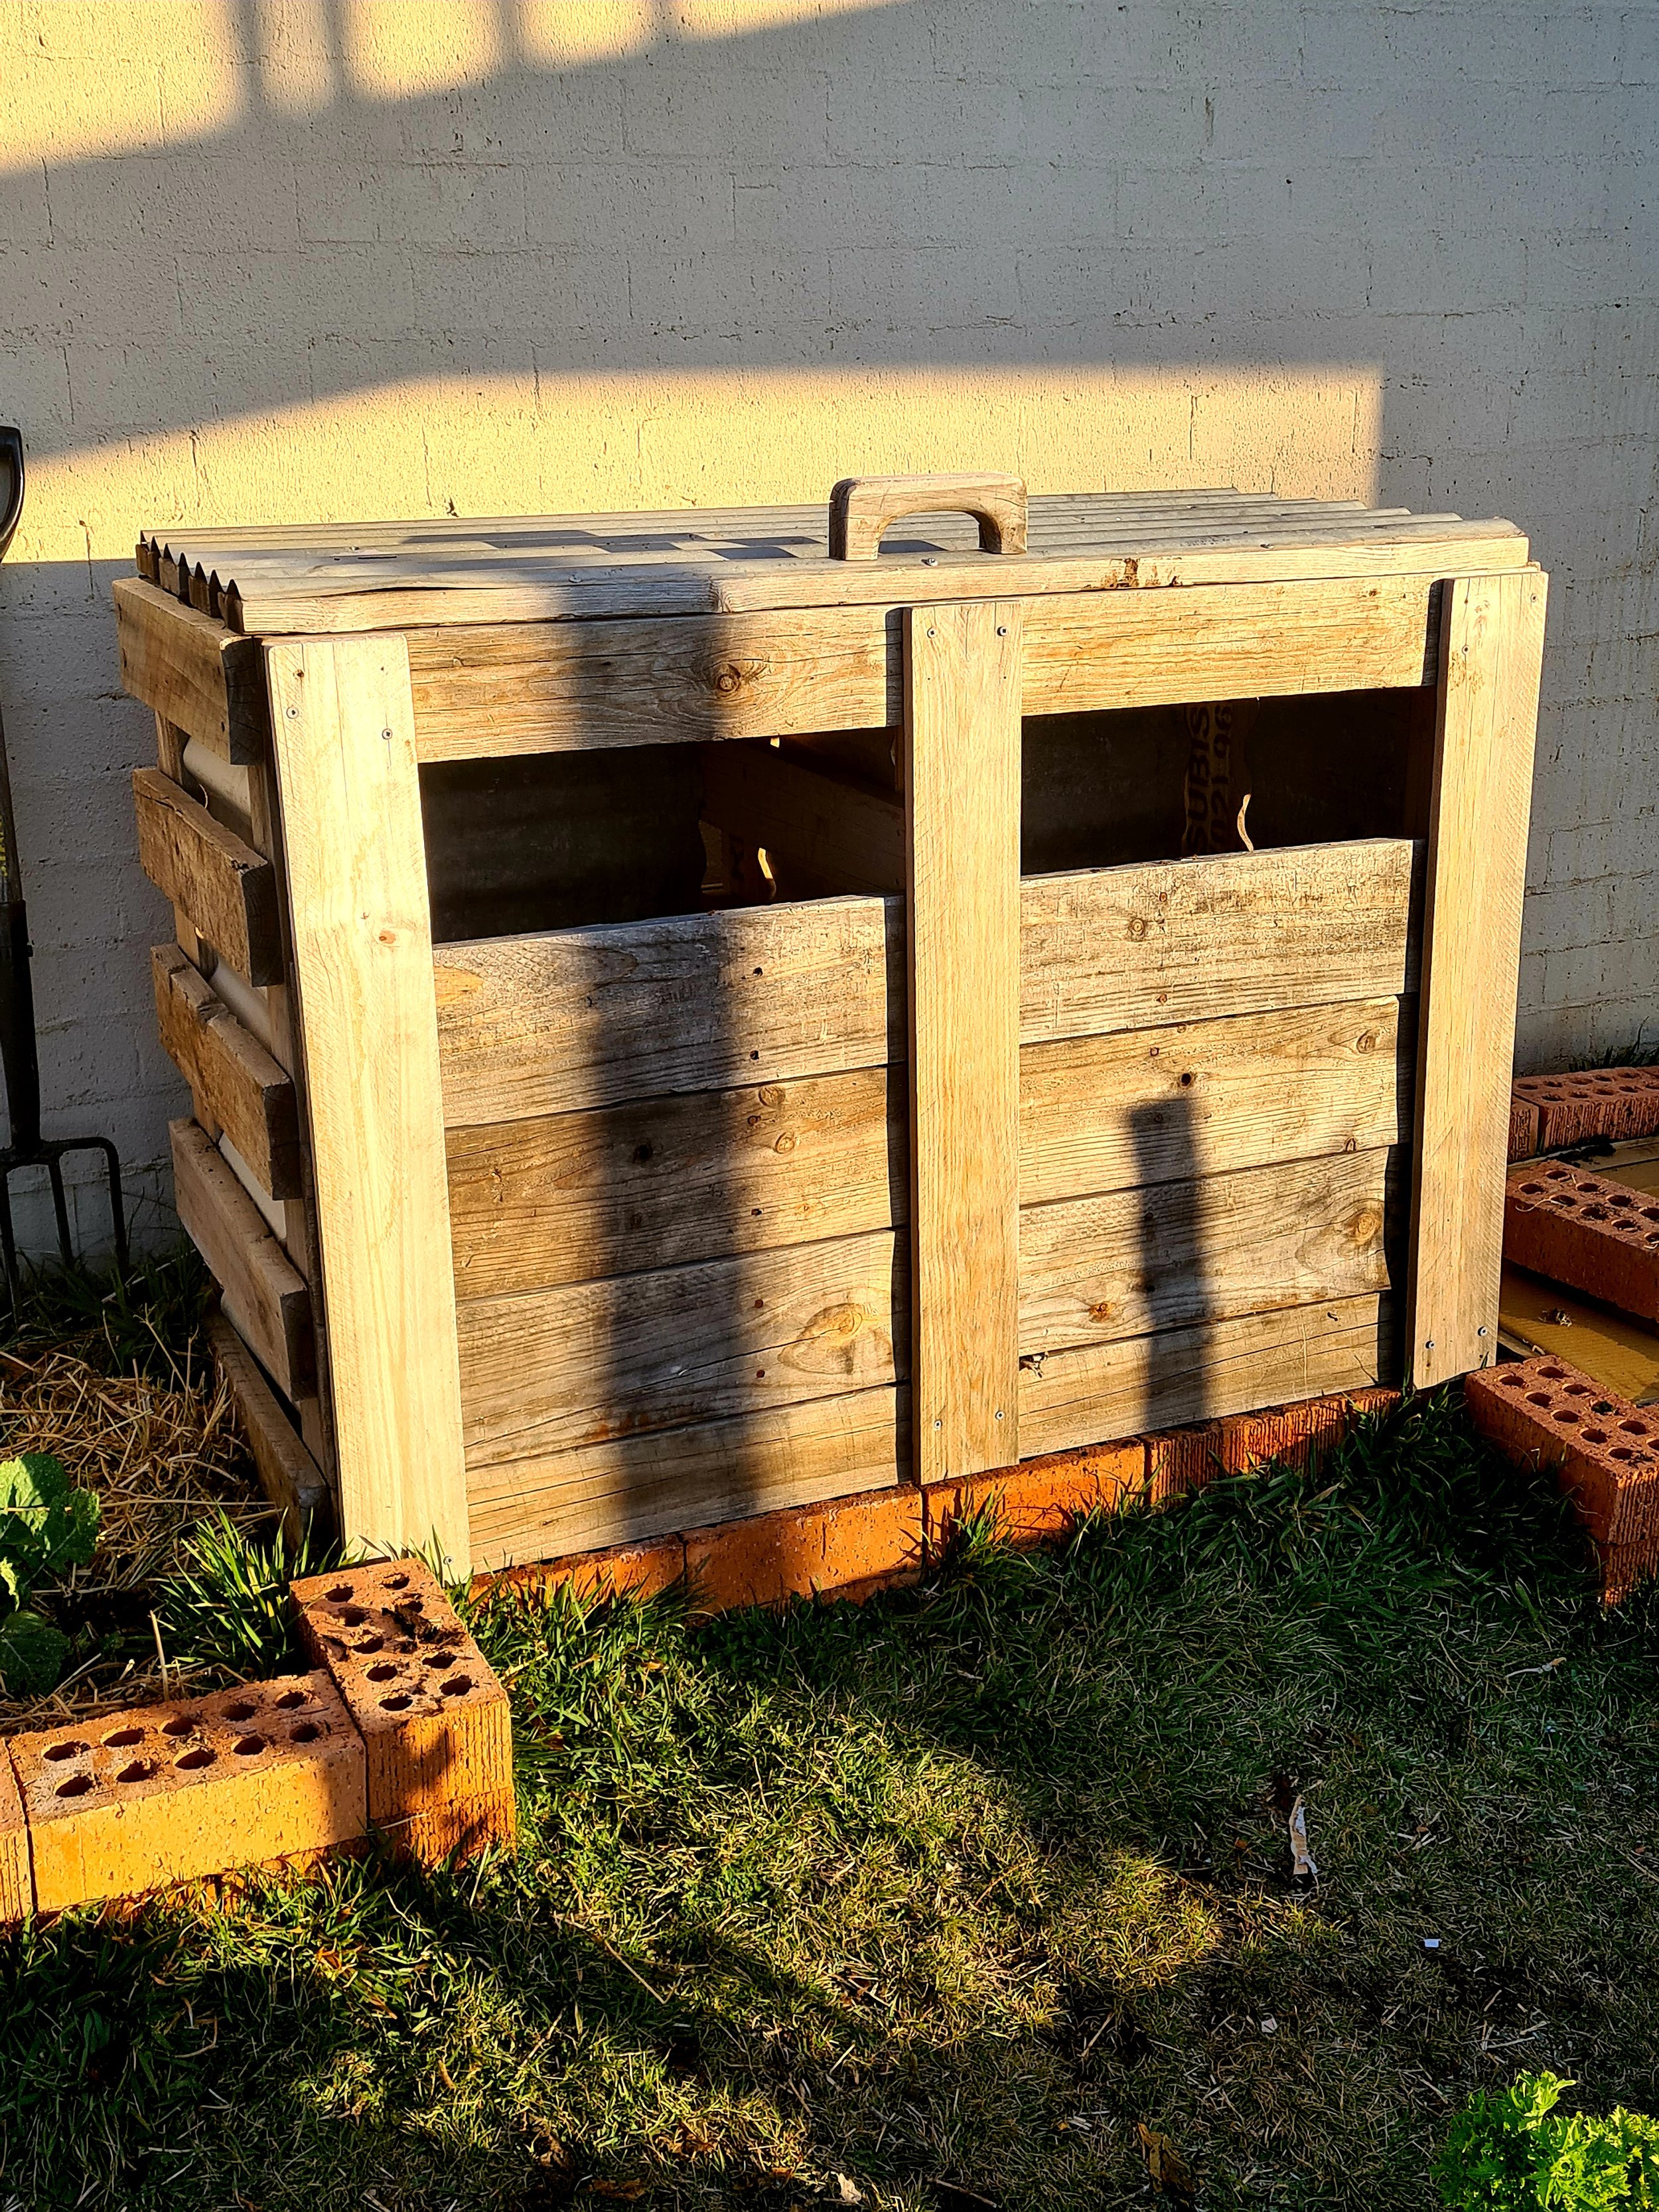
Recycled pallet and corrugated iron compost bin. Custom made.
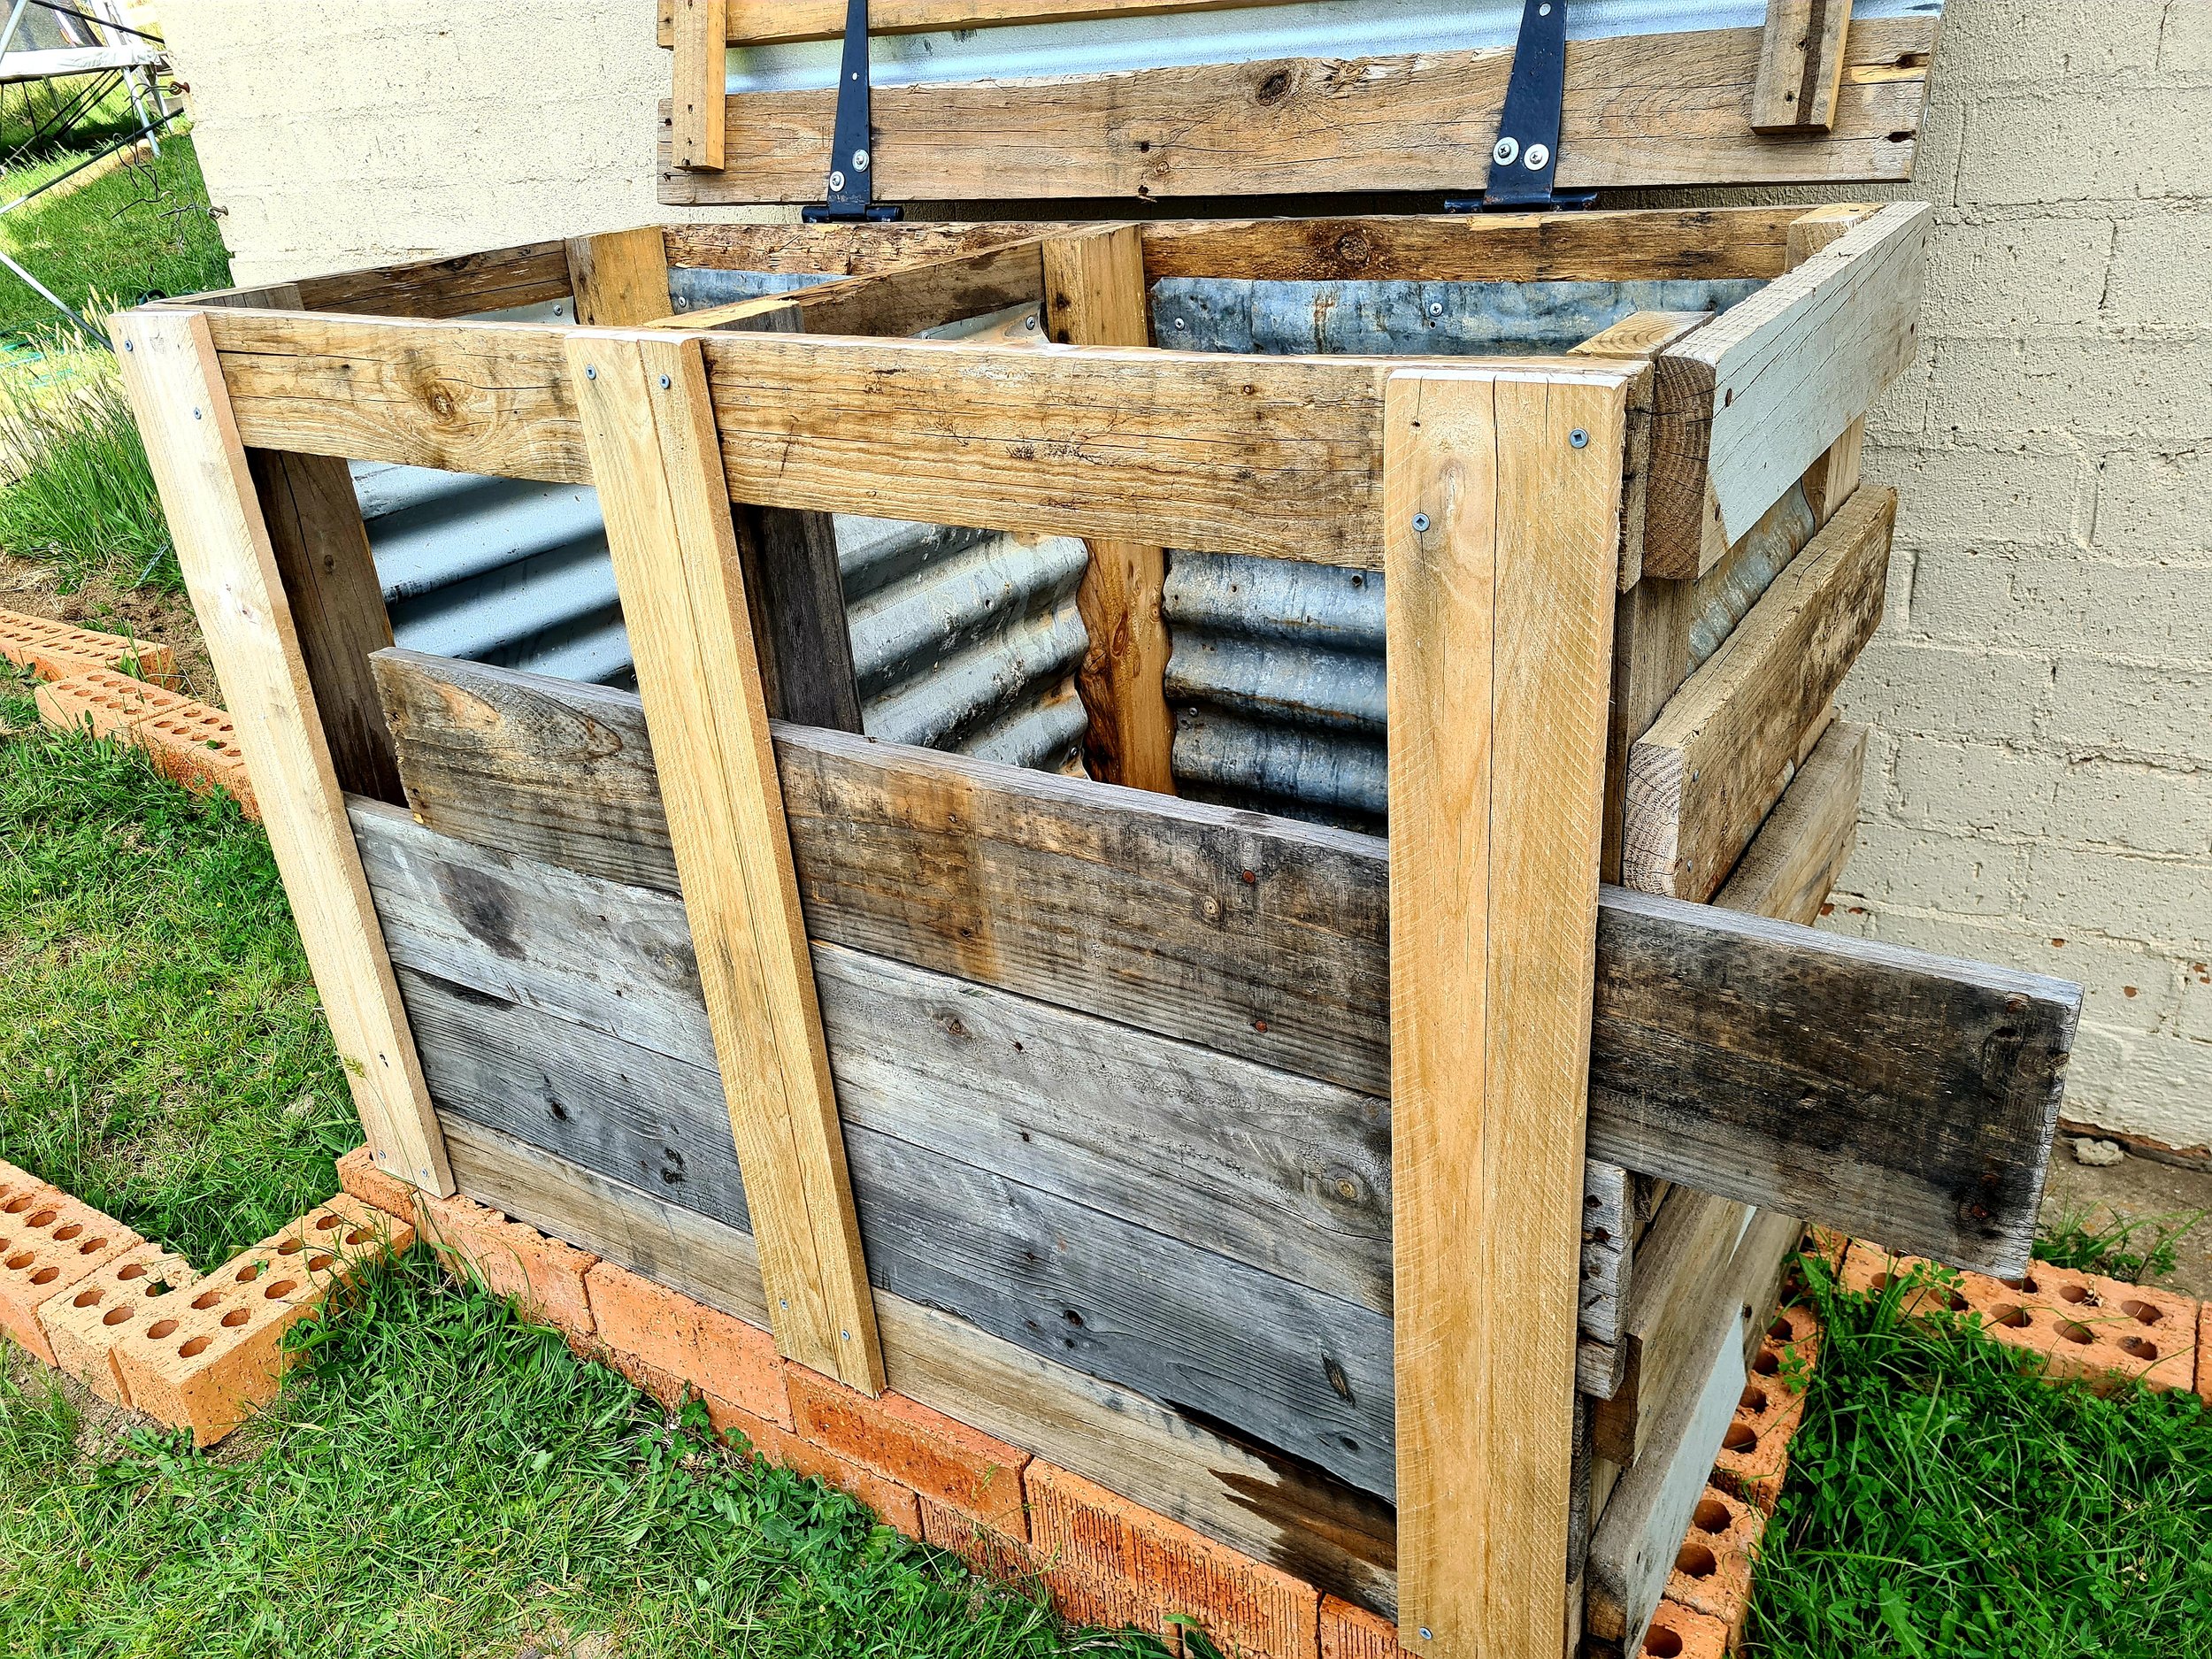
This custom bin has a hinged cover to keep the rain out, and removable front panels so when it's ready to go it is easy to dig out.
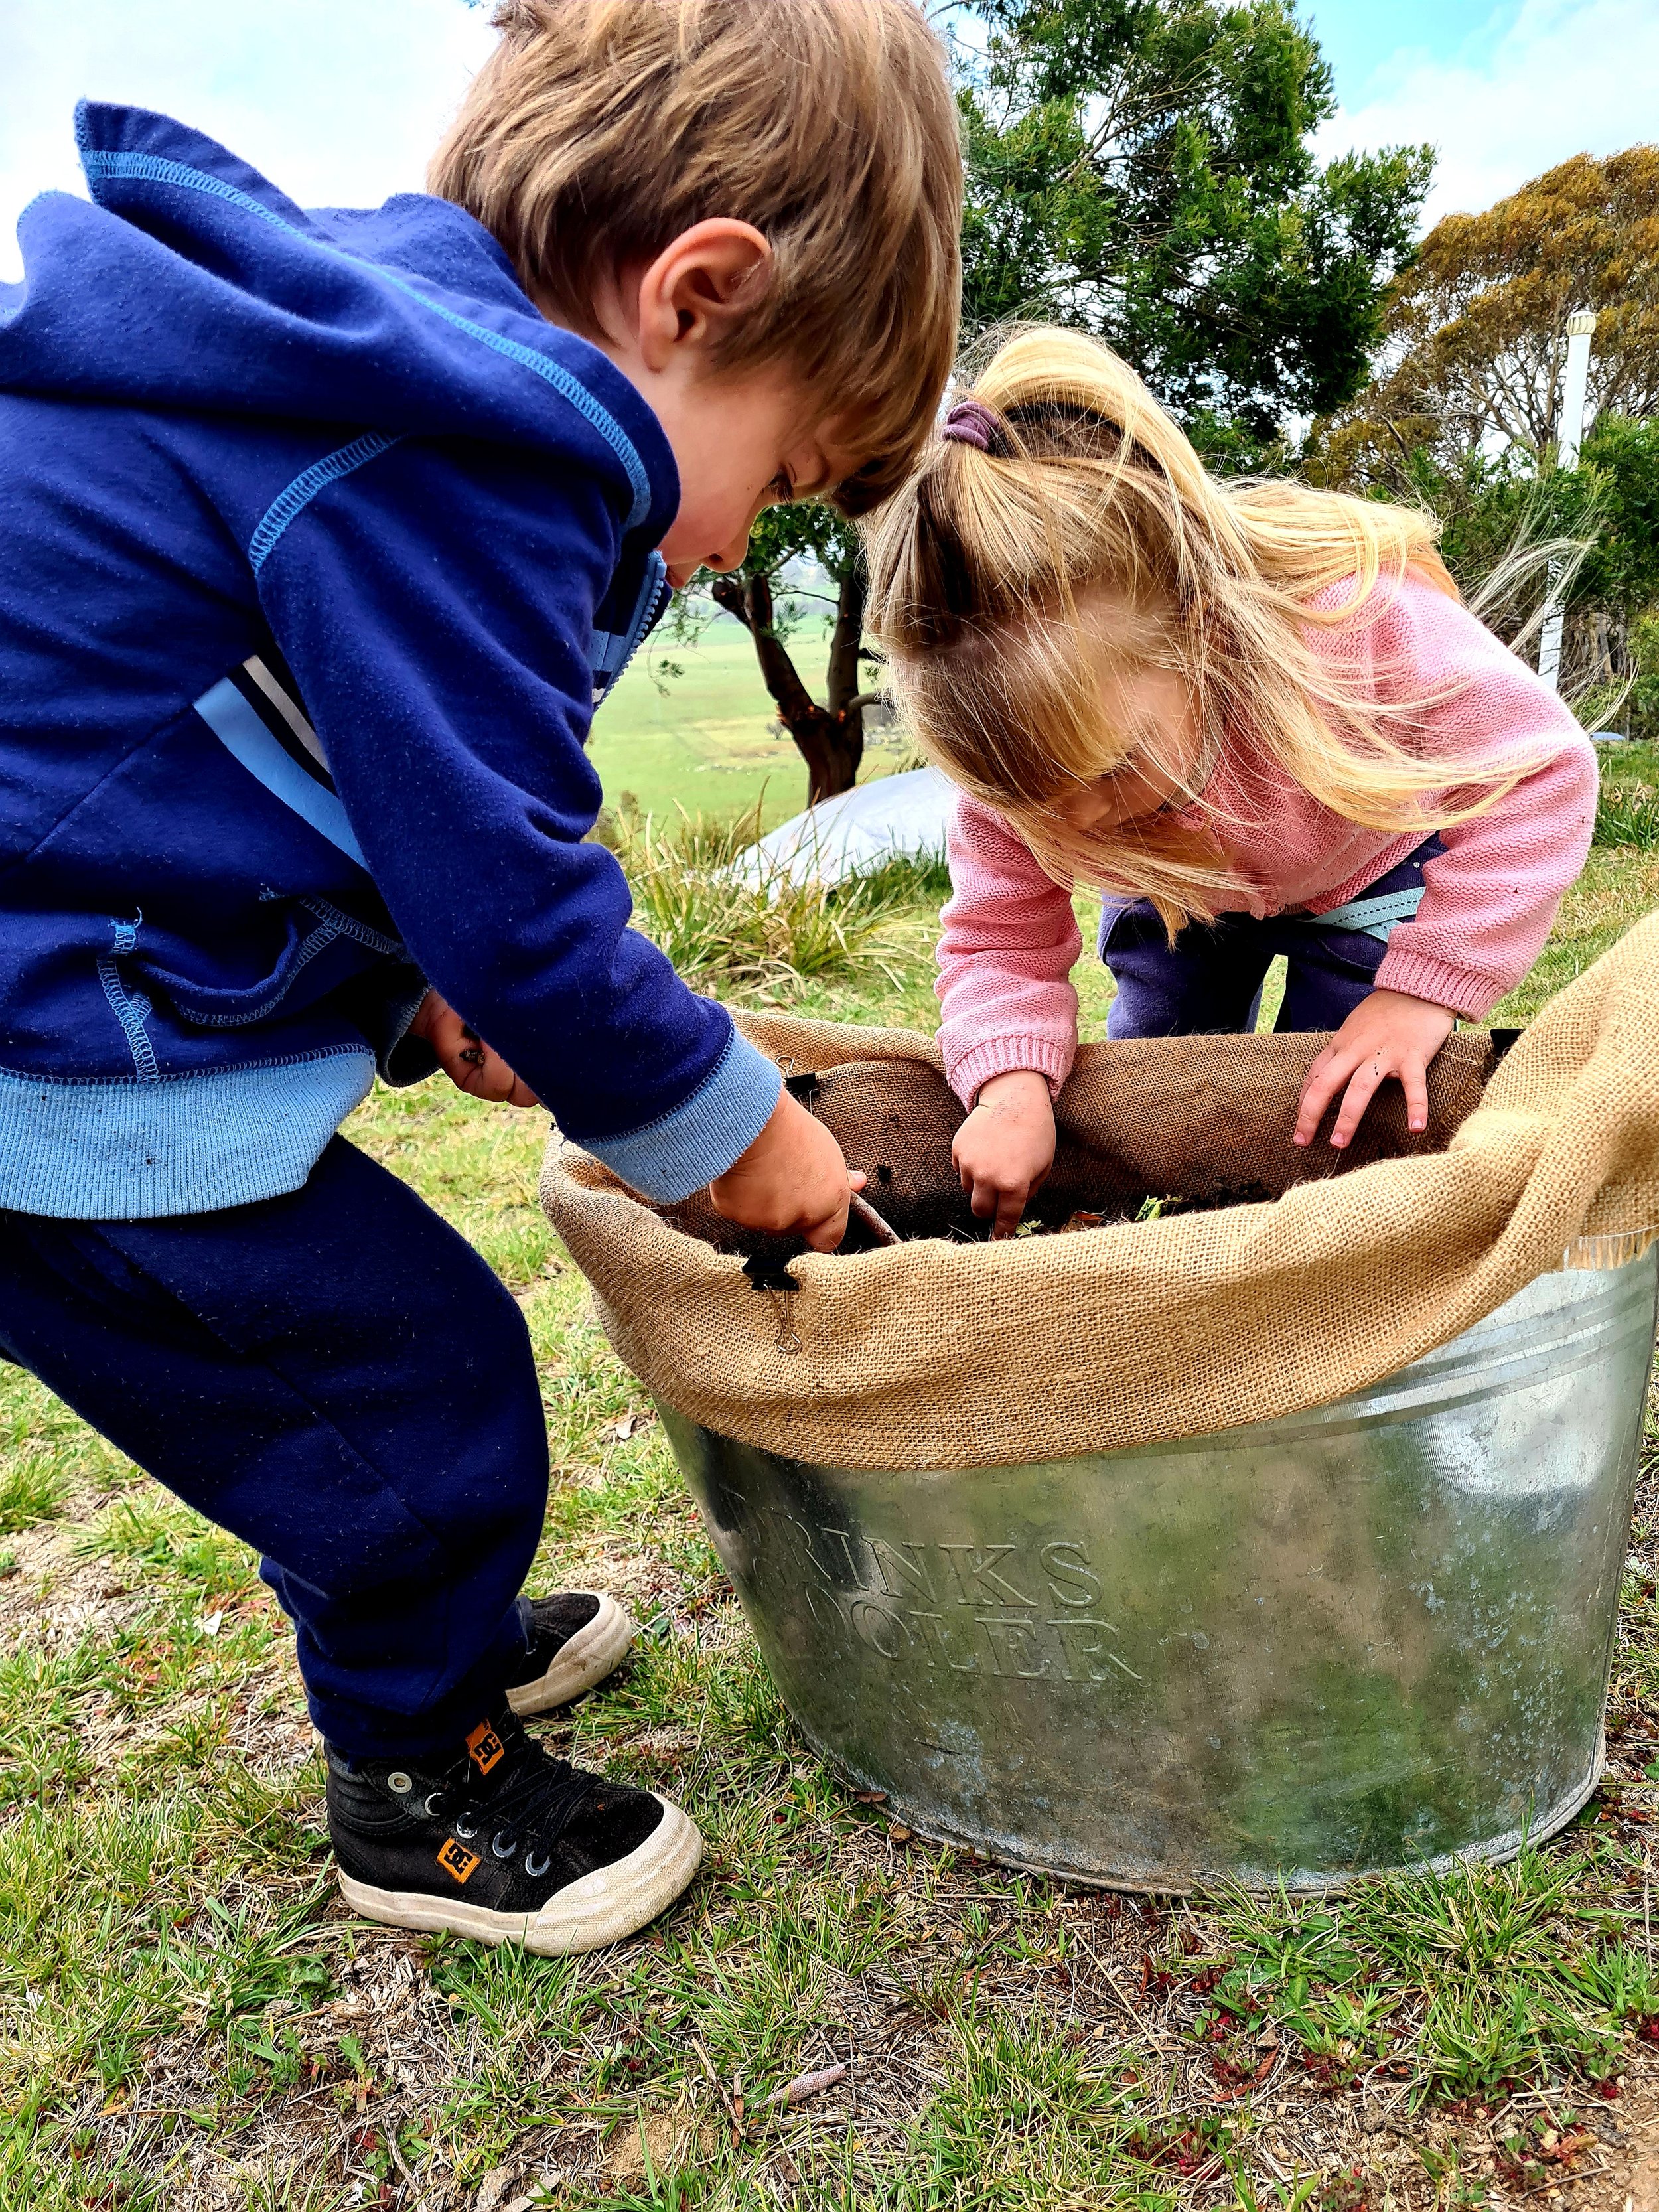
Digging for worms, ready to place in their new home.

Finished worm farm using all recycled materials. Some insulation would be ideal, however they are surviving and breeding, just not digesting very much during this time.
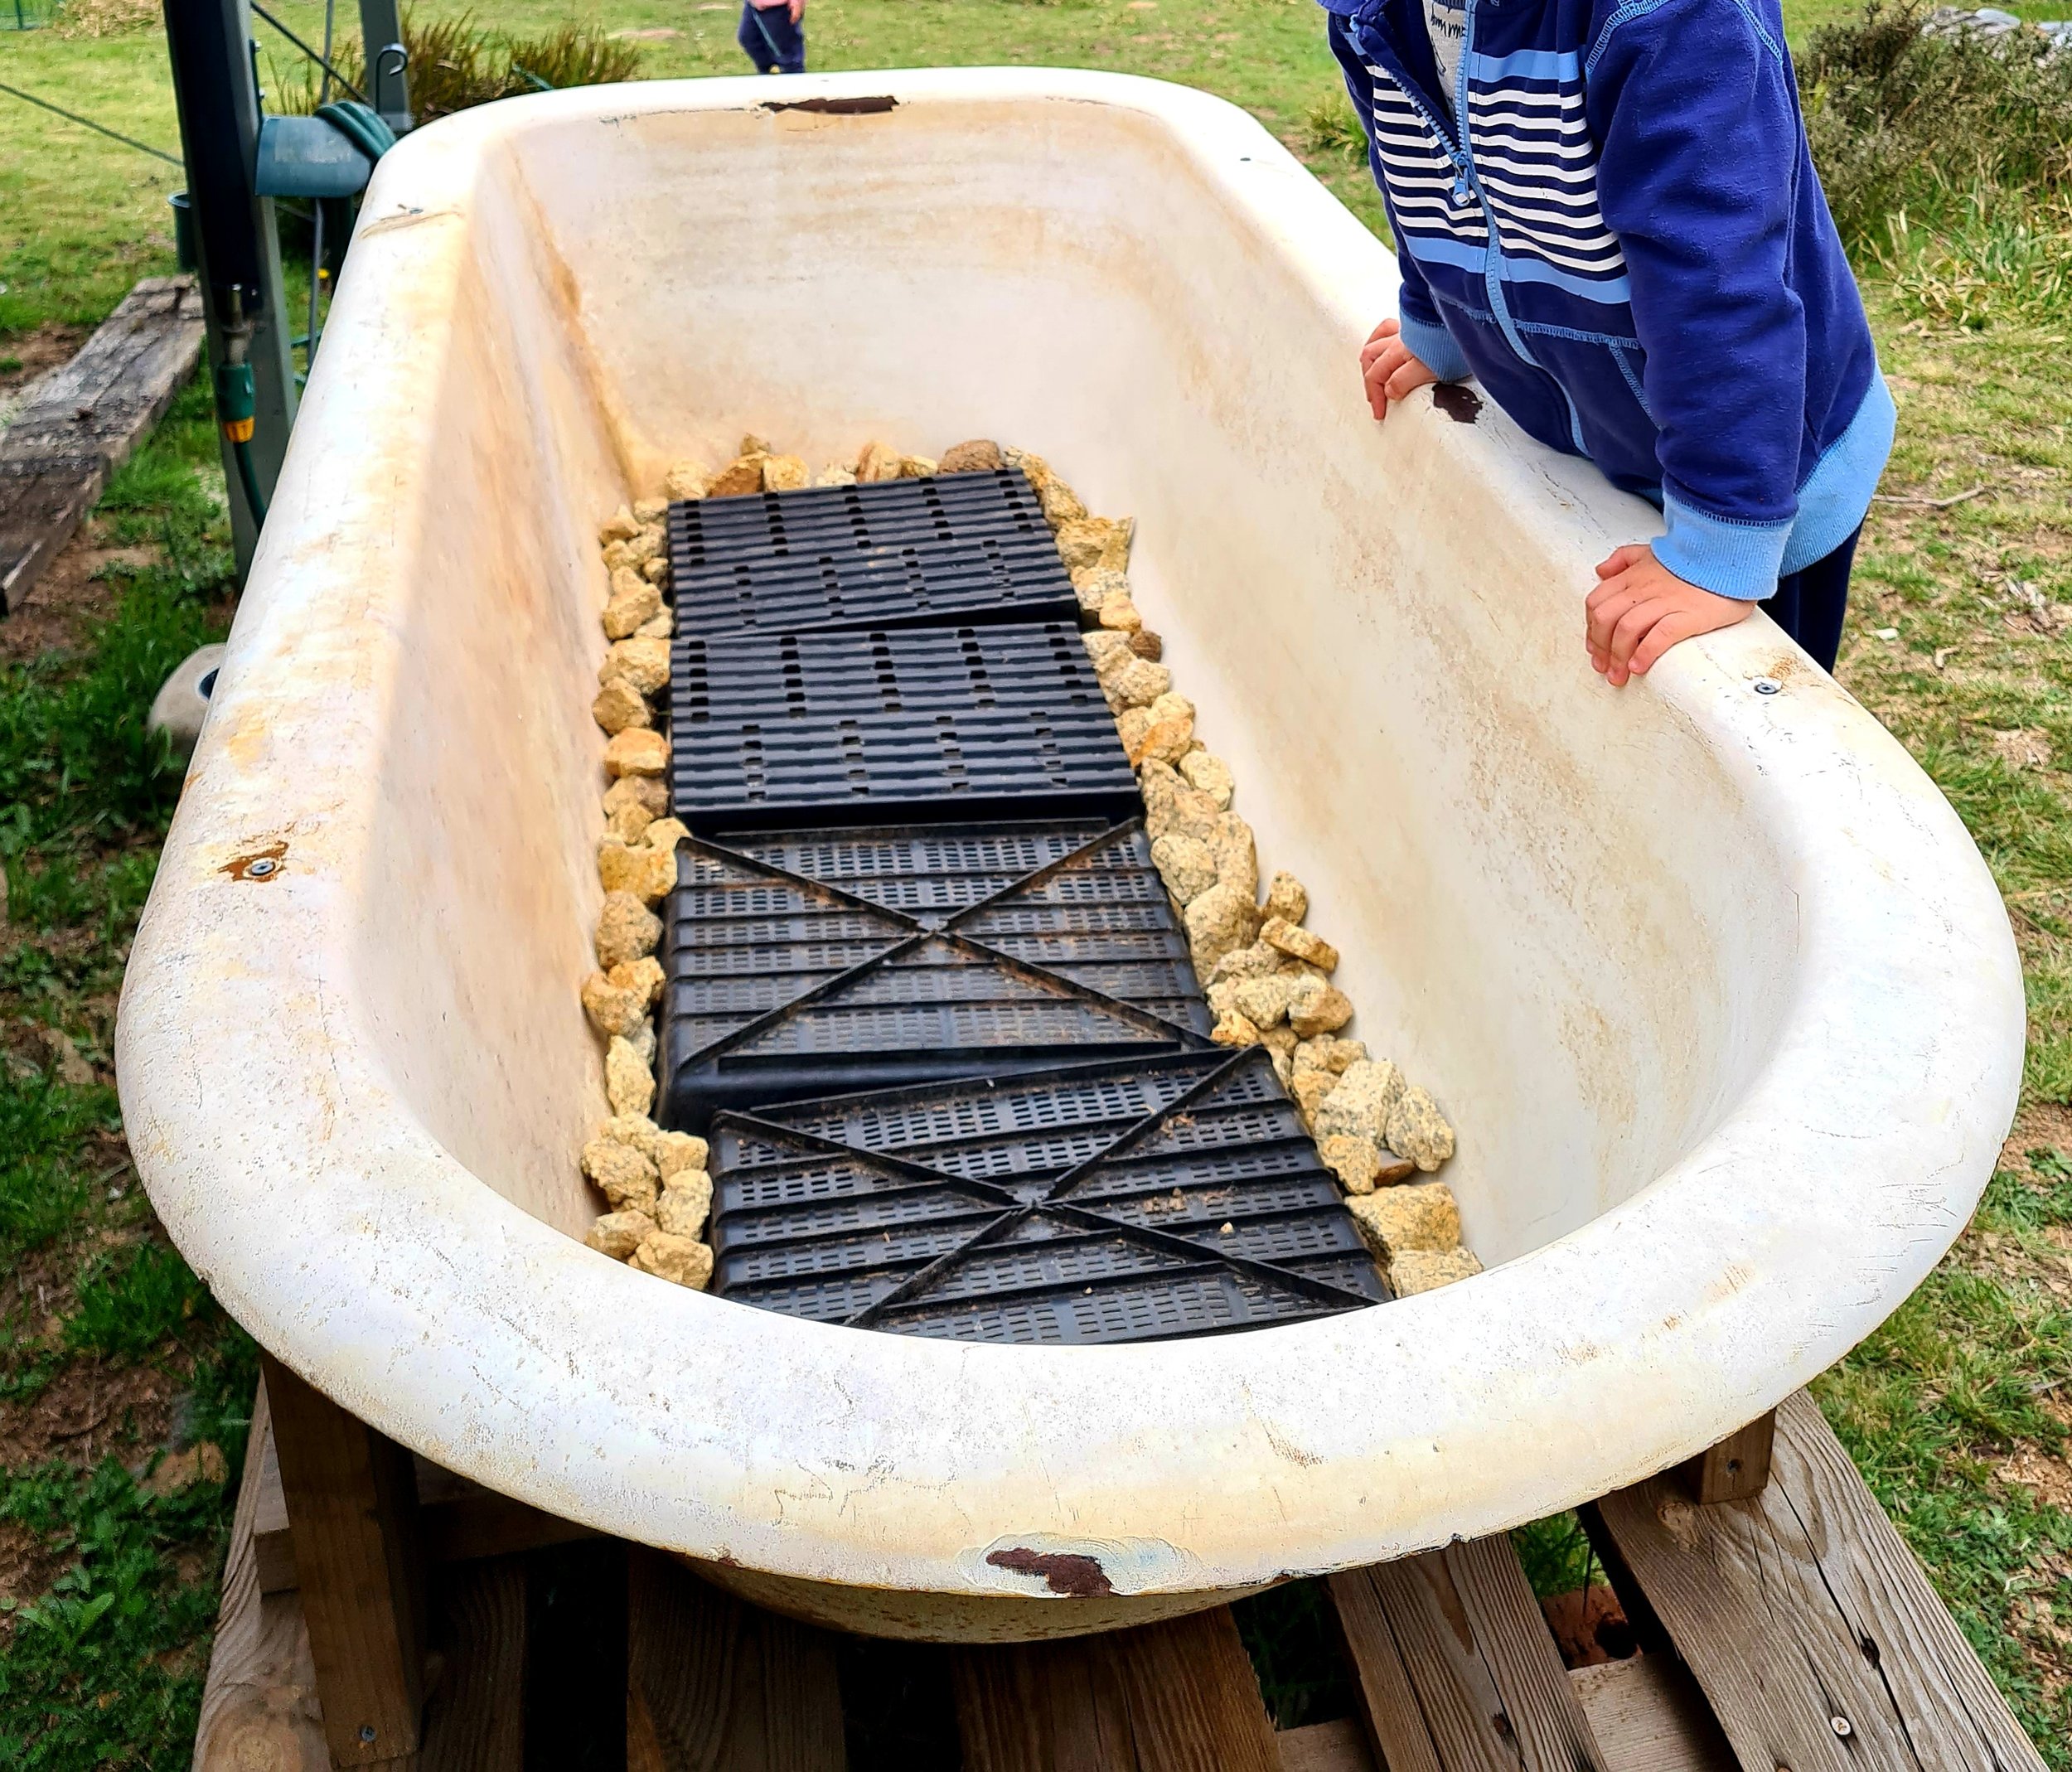
The air flow and drainage layer (first layer). I know I said no to plastic, but these are recycled trays from the nursery destined for landfill.
Quick How To
We promise composting is easier than some people make it out to be. Of course, it can be micro-managed and some people adhere to pretty strict rules about citrus, onions, etc and that too is fine. But just to get you started here are the fundamentals in a nutshell.
Start with 50:50 Brown to Green (Carbon to Nitrogen ratio) and play with your own balance from there. Too wet, add more brown, too dry - add more green (or sometimes you do just need to give it a little spray with water).
Layer brown and green like a lasagna.
Brown = dried leaves, newspaper, small sticks, etc.
Green = your kitchen scraps, lawn clippings, etc. If you have a massive lawn and a small cold compost, don’t go throwing all of your lawn clippings in this compost, you’re better off creating a large compost bay and hot composting (see below).
Now: Hot versus Cold compost.
HOT - one-time pile creation - layer (C:N), wet, check temp, turn - repeat.
Hot - you need a very large pile, at least a meter cubed. However, if you live in a cold region like the Snowy Mountains you want to go bigger, more like 2m3.
Why so big - the pile needs to build up the heat: 55 degrees Celsius for at least 3 days, and this means all parts of the pile so you have to move the outside to the centre so that all parts of the pile get a chance to be that hot.
Why heat - it breaks down pathogens (found in cooked food, meat, and dairy), and it destroys weed seeds.
COLD - additions are made as required. With each bucket of scraps from the kitchen, add roughly the same in brown material. Turn at least a few times a week. Aerobic respiration is key (air). *Turn = stick a garden fork in the pile, twist, and flip, you’re trying to move the outside stuff to the middle and bring the bottom material up).
These smaller, manageable cold piles can still get warm, but generally nowhere near as hot as 55 degrees C.
Because they are cold, this method will not safely destroy all pathogens or weed seeds. Therefore it is recommended that in this style of composting you avoid adding cooked food, dairy, and meat.
Do not compost pet waste - maybe buy a home biogas generator and use that instead.
The word on onion and citrus - these two get a lot of attention. The advice below pertains to cold compost, hot composting is far more forgiving.
If you’re making French Onion Soup every day and are disposing of 20 tops and tails (and that annoying first skin layer), perhaps avoid putting it all in the compost at once. If the soup is a one-off, then go for it, add the onion to the compost.
Citrus - if you have just juiced your entire lemon tree and it was a bounty, probably avoid putting it all into your compost at one time.
If you notice that your pile stinks, has an excessive amount of flies, just doesn’t seem to be breaking down, or a combination of these and other problems. Please get in touch, we’re happy to troubleshoot.
Worm Farming
You can start with an old bath, or you can buy whatever type of worm farm that tickles your fancy on the internet. I personally am not a huge fan of plastic and I do like to recycle items (like old baths), so presently mine are in a bath, before that however they were in an old drinks cooler and they were happy there too.
The things you need to remember about worm farms are; airflow, drainage (although contrary to popular belief there should be no leachate (worm tea) but more on that later), a bed (coconut coir), food (C : N ratio [Brown : Green]), blanket (I like to use a combo of wool packaging insulation and newspaper), and a cover/lid (do not let them get rained on).
Insulation is also a consideration depending on the extremes of temperature in your part of the world.
To feed: Layer the C:N ratio and do not turn. Monitor for leachate (liquid running out) and adjust the feeding regime until the liquid stops running (add more C, more on this below).
I like to give these my guys the Crème de la crème of scraps (cut up too), but that’s just me, and not necessary.
Worm Tea fallacy. If your worm farm has liquid running out of it, this is not worm tea, it is bacterial leachate and it means that you need to add more carbon to your farm (brown material).
To make ‘worm tea’ mix water with a quantity of the finished vermicast, strain and use immediately. If you do not plan to use this tea straight away, it will need to be aerated otherwise the good bacteria in the tea will perish.
For more info on this listen to: https://www.probioticlife.net/episodes/028